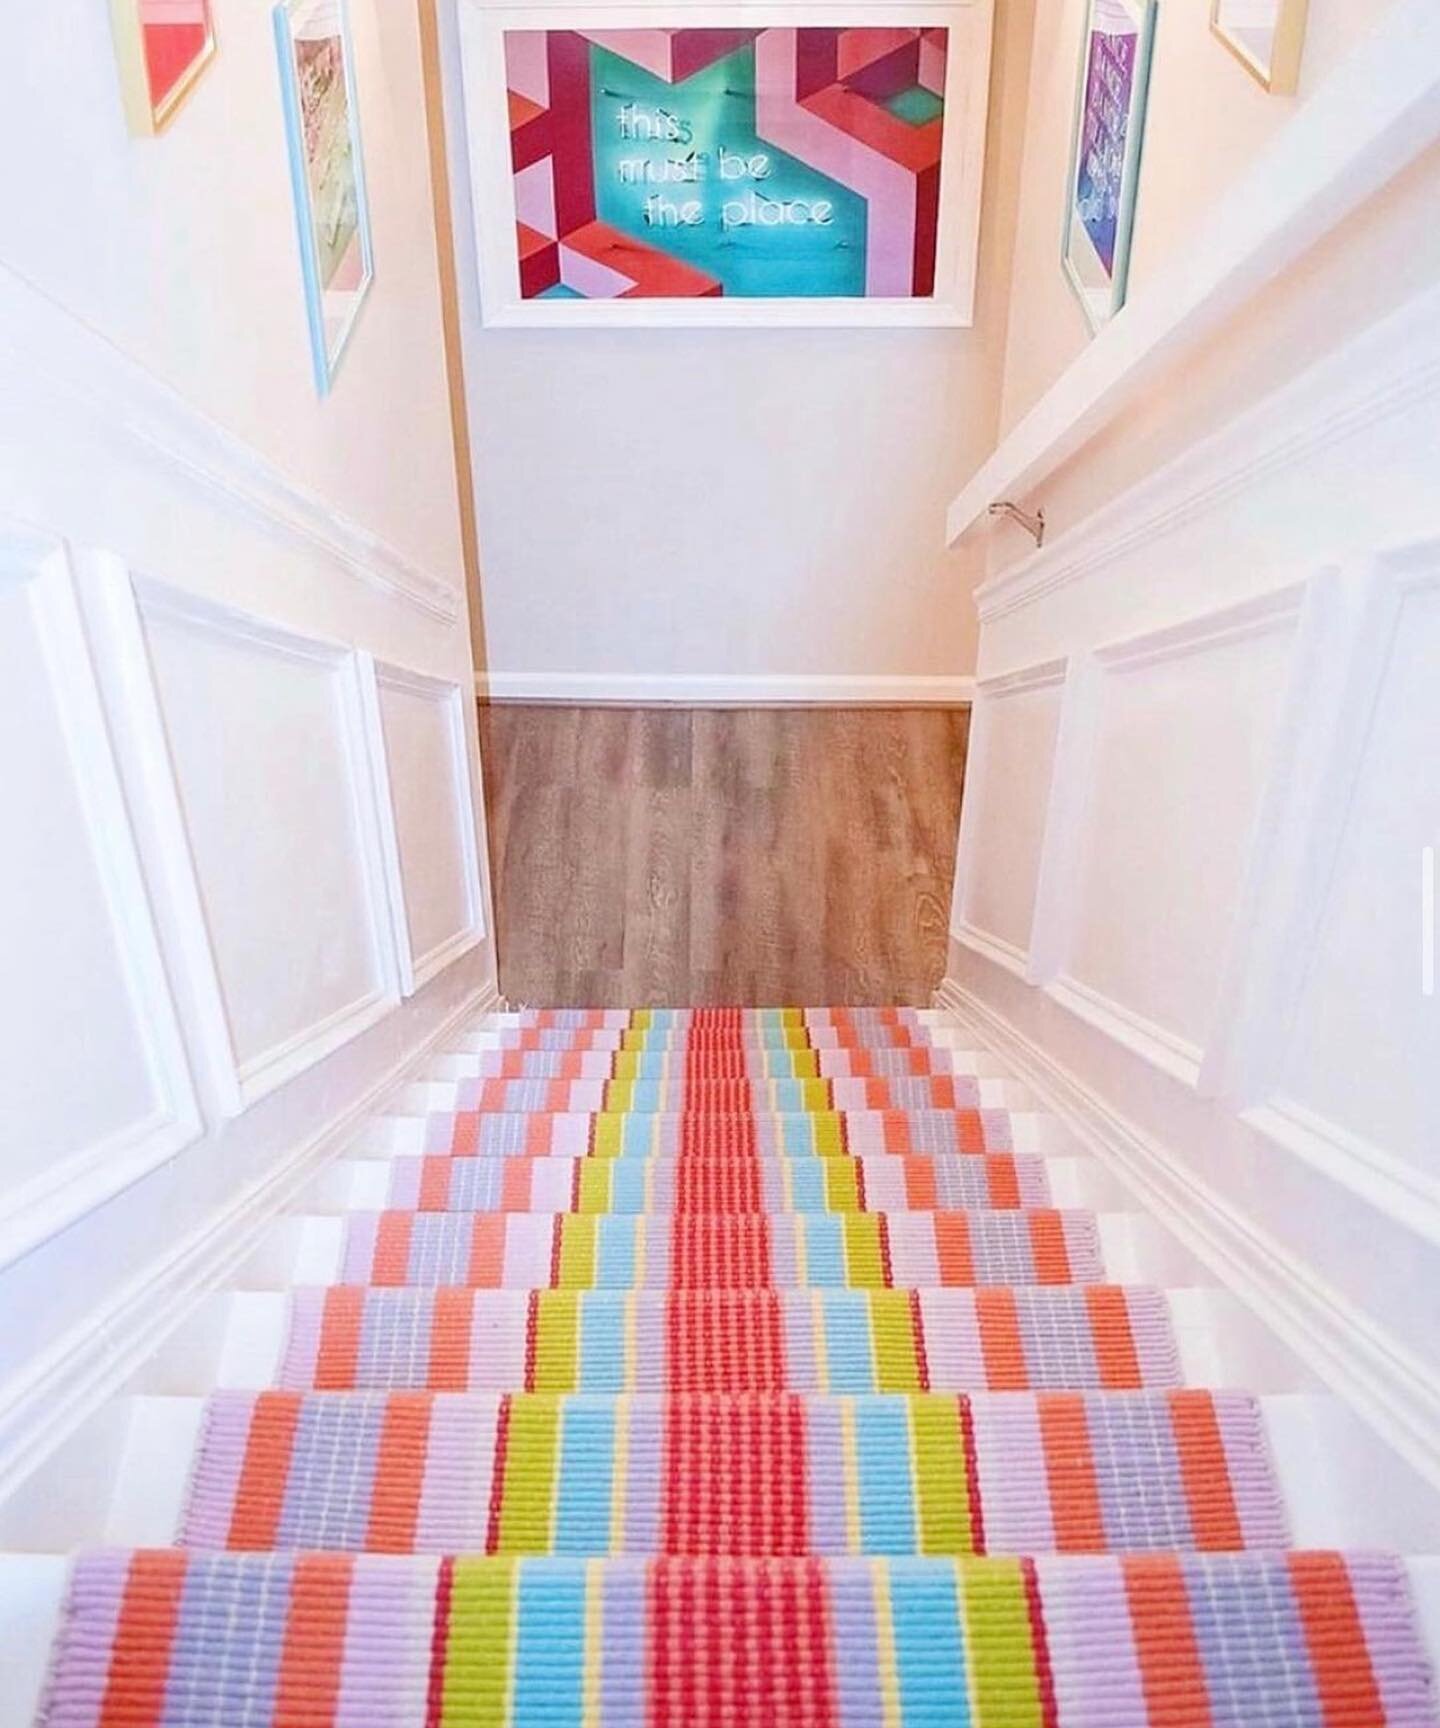
It’s week two of the Fall One Room Challenge! Have you checked out the other projects happening? Definitely take some time to go through them. Trust me, it's worth your time!
I want to take you back a bit to the beginning of this project. We started planning this out in March and broke ground in early August. We made some progress and then everything stopped for weeks. Because of shipping and material delays and also weather nothing happened for a real long time. I’m happy to say that the past two weeks we are finally making real progress but I want to catch you all up to where we currently are. So lean back and enjoy this little walk through the past two months.
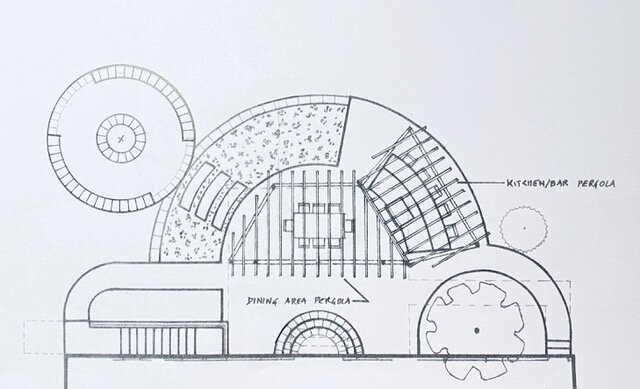
As a reminder, here is the final drawing for the backyard plans. No sharp angles, lots of circulars and three stations: outdoor kitchen, dining and firepit area. The first thing to do was draw the lines in the yard.

We have the perfect aerial view from our master bedroom windows! When it was all drawn out I was a little shocked at how big it looked. I mean I had an idea of how large it would be but once we had it all drawn out it seem so much bigger! The blue markings are for the elevated firepit area, the yellow the outside circle and the white is where the pergolas would be built and then then where the outdoor kitchen will be.

I’ve never been so happy to see paint on my lawn. Just seeing the paint made it seem so real! The reality of knowing the brick patio was going to be torn up made me even more excited! Those bricks were past their prime. It was time for everyone to move on.
Building the Pergolas

The cover for the patio and outdoor kitchen is made up of two solid, very solid, pergolas. They meet at the start of the outdoor kitchen making it seem like its almost one but from above you can see how they connect.


At the same time the pergola was going up, we had a crew digging the trenches for the gas lines to the fire pit and the outdoor kitchen. We knew the previous owners had buried a pool somewhere in our backyard but we weren’t sure where until they hit the pool steps while digging. This was during the big August heat wave where it was over 100 degrees out and when they showed Henry where the steps were, he looked like he could almost cry. He told them, “if the pool was still here, I’d be in it right now.”


For more coverage from the sun we decided to go with the cross hatch design which provided not only more shade but also added an extra level of detail and interest to the structure and also for the whole patio design.

Here’s a view from the top. Not only is this pergola beautiful but it is solid! At one point there were three guys working on the roof and it didn’t move at all. Nothing is going to take that bad boy down. It’s also higher than normal height standards, over 10 feet because I didn’t want it to block our view when we looked out from our family room.
Cement Foundation Prep and Pour
After waiting another 3 weeks for the cement order, it was finally time to prep the areas for the cement pour. This is a really really large space so we knew it was going to take a lot of cement to cover everything. Turns out is was 60 tons! Yeah you read that right and our driveway felt it!

After the forms were built that’s when we really got to see a better view of the layout.


It was finally time for two large cement trucks to do the pours.


Finally something other than dirt!!!! It didn’t matter that our driveway was ruined and our lawn (what is left of it) was completely destroyed because the constant rain has made it into a swamp, we finally had a solid foundation!

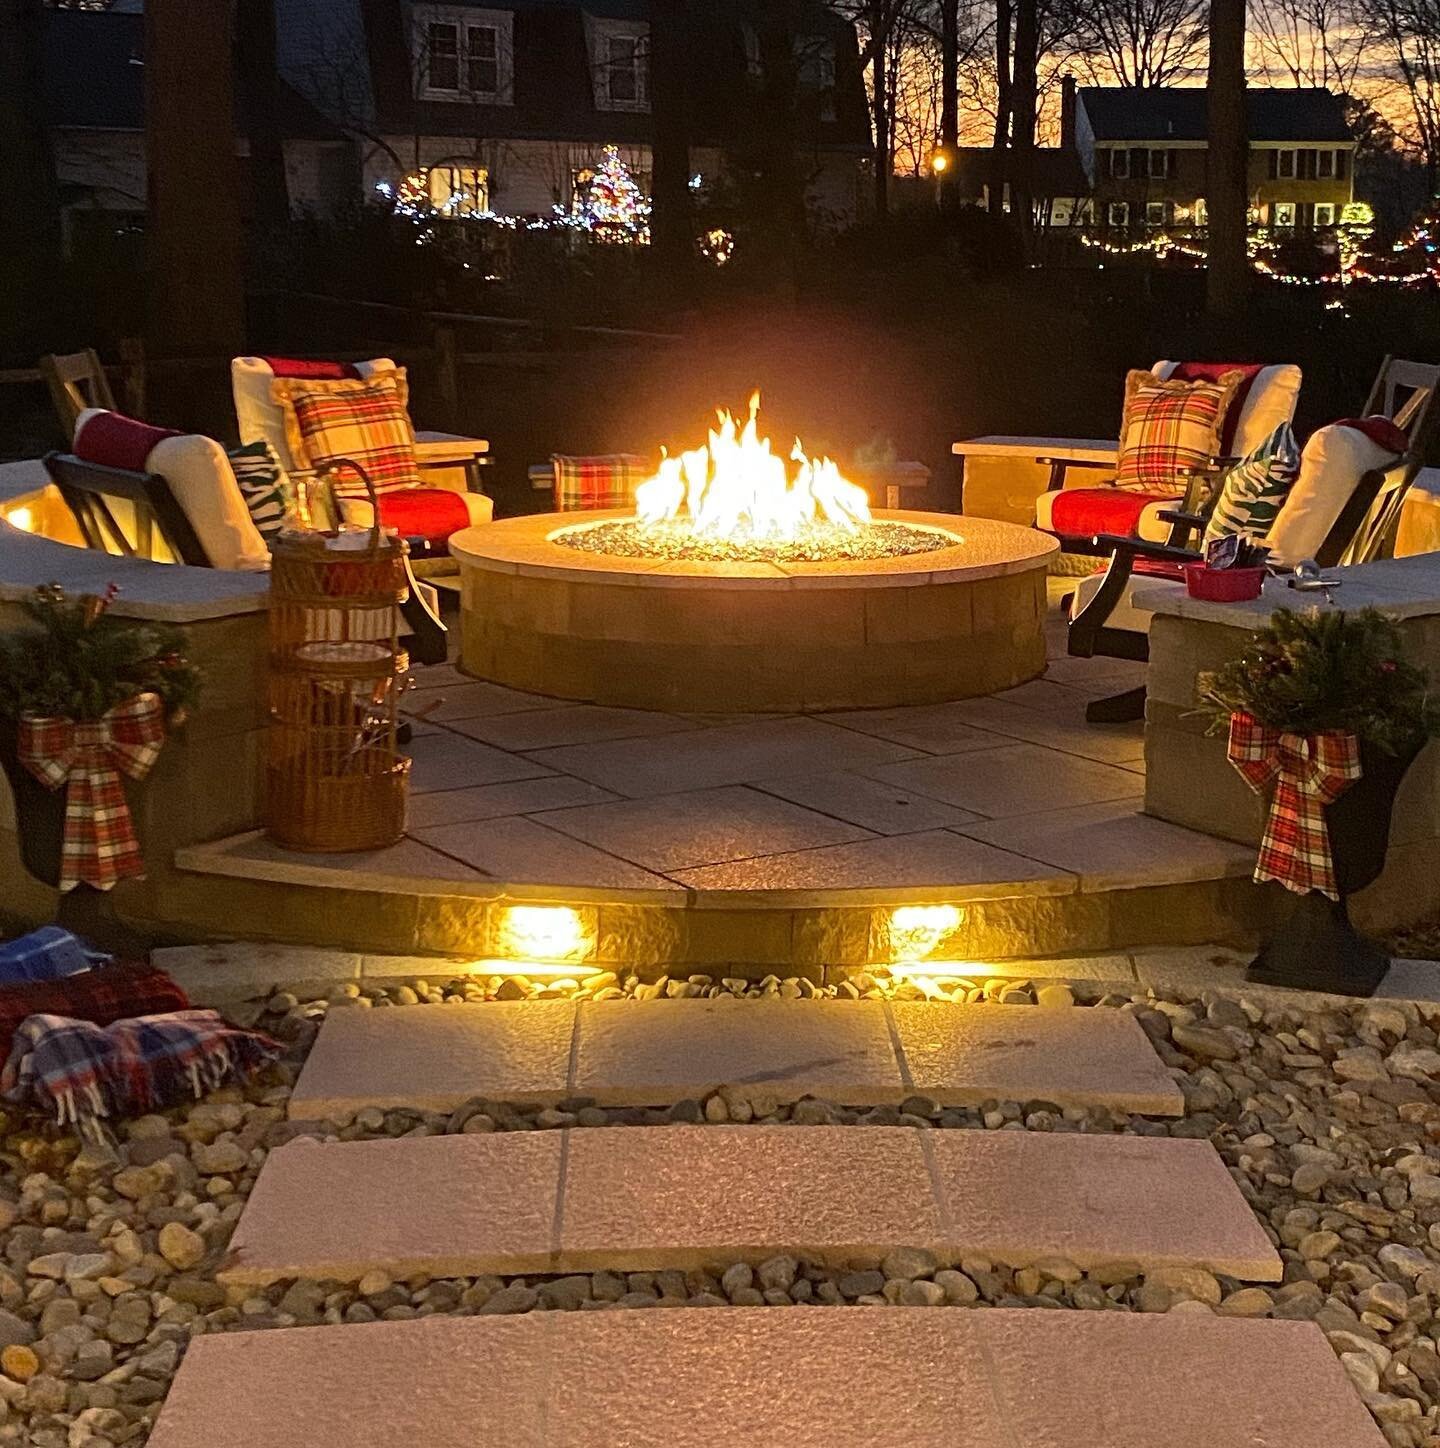
Can we talk about that elevated firepit?! That was probably the best part of the day when they poured that part. I was so happy to finally see some real progress! This stayed like this until 2 weeks ago when the stone finally arrived! Stay tuned for next week for the progress we’ve made since then! Things are finally starting to move and groove and I couldn’t be happier!